Search Knowledge Base by Keyword
Configure the Plugin
Step 1:
In the WordPress admin area, find and open up a page or post where you want to display the Arrow. In the editor you will see a blue down arrow icon. Click on the icon to display the Arrow properties dialog.
Step 2:
A pop up box will display the Arrow properties with pre-filled typical values as a guide. After you are happy with the parameters, click the OK button.
[table id=1 /]
Step 3:
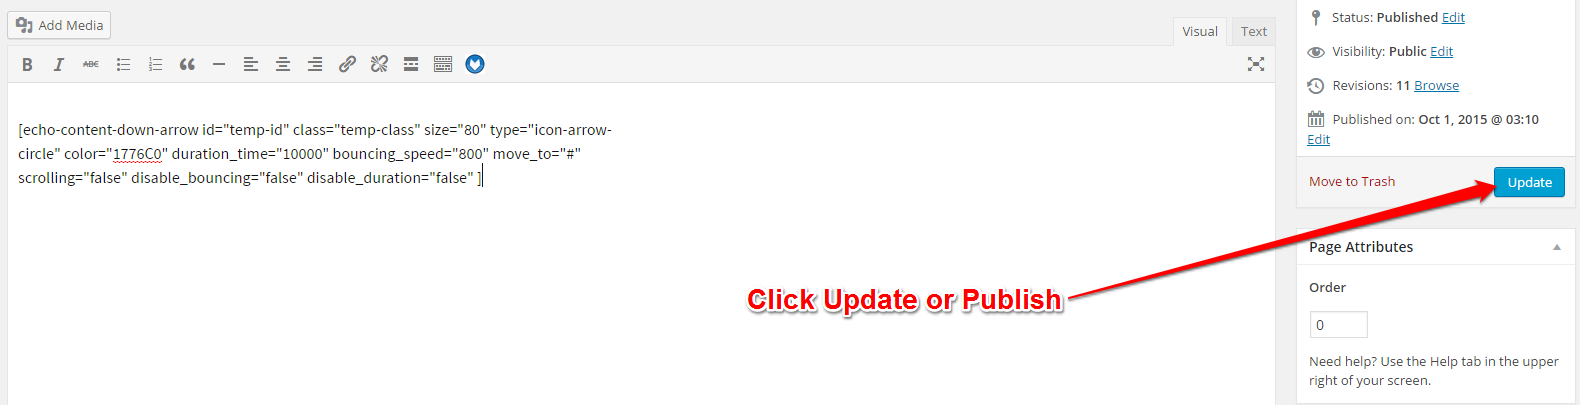
The screenshot on the right shows the shortcode that will be inserted into the page/post editor after you click OK in the Arrow properties dialog.
You can also edit the shortcode directly in the editor or erase it and start over from Configure the Plugin – Step 1.
If you are happy with the Arrow settings continue to the next step.
Note: This will insert a new shortcode into the editor

Step 4:
As a last step, update or publish your post or page. Then go to your website, find the page and verify that your down Arrow is displayed and works as expected. It should appear at the bottom of the page, possibly with some delay based on your Arrow parameters.
If you need to adjust your settings, go back to the page editor and either manually adjust the Arrow shortcode settings or insert a new shortcode using the Arrow button (old shortcode will need to be removed or overwritten).